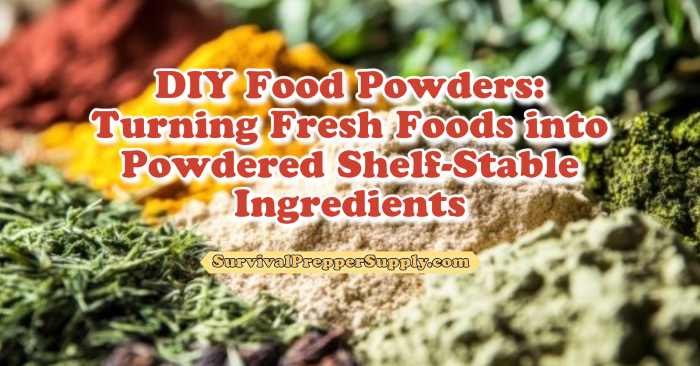
Transforming Fresh Ingredients into Shelf-Stable Staples
Converting fresh foods into powdered, shelf-stable ingredients is a smart way to preserve flavor, nutrients, and versatility while reducing food waste. It’s cost-effective, space-saving, and offers convenient, easy-to-use ingredients for various recipes. Thinking of trying it yourself? I’m starting with some herbs from my garden!
From fruits and vegetables to herbs and meats, many fresh foods can be dehydrated and ground into powders for long-term storage. This guide covers everything you need to know about making your DIY food powders, including preparation, equipment, and storage tips to maximize their shelf life.
Why Dehydrate Foods?
Dehydrating fresh foods removes moisture, key to preventing bacterial and mold growth. This process ensures the resulting powders remain safe for long-term storage.
- Best Tools: A food dehydrator is the most effective option, offering consistently low temperatures and even airflow to preserve nutrients and flavors. If you don’t have one, a low-temperature oven works for small batches. Air or sun drying is also possible but takes longer and is best for dry climates.
Preparing Fresh Ingredients
High-quality ingredients yield the best results. Follow these steps:
- Wash fruits and vegetables thoroughly, then peel, core, or seed as needed.
- For herbs, remove thick stems. For meats, trim excess fat to prevent spoilage.
- Slice everything thinly and evenly for faster, uniform drying.
Dehydrating Basics
Place prepared slices in a single layer on dehydrator trays or oven racks. Set temperatures according to the food:
- Fruits and vegetables: 125°F to 135°F
- Meats: 145°F to 160°F
Drying times vary but generally range from 6–12 hours for produce and 8–10 hours for meats. The goal is a brittle or leathery texture, indicating almost all moisture has been removed.
Grinding and Sieving
Once dried, let the food cool completely to prevent moisture release during storage. Then:
- Grind in a blender, food processor, or spice grinder until you achieve the desired texture.
- For a fine, consistent powder, strain through a mesh sieve. Larger bits can be reground or repurposed in other recipes.
Storing DIY Food Powders
Proper storage ensures longevity. Keep powders away from oxygen, light, and moisture by using:
- Airtight, opaque containers (e.g., glass jars, Mylar bags, vacuum-sealed bags).
- Desiccant packs or oxygen absorbers to maintain freshness.
- Cool, dark locations to preserve color, flavor, and nutrients.
Label containers with the contents, preparation date, and usage instructions. Food powders can last 6–12 months or longer when stored properly.
Creative Uses
DIY food powders are versatile in the kitchen:
- Vegetable Powders: Enhance soups, sauces, and stews with spinach, tomato, or carrot powder.
- Root Veggie Powders: Add flavor and natural sweetness to baked goods, smoothies, or pasta dough.
- Meat Powders: Perfect for broths and seasoning blends.
- Fruit Powders: Use in yogurts, oatmeal, or desserts for a concentrated burst of flavor.
- Herb Powders: Sprinkle into recipes or mix into spice blends for concentrated flavor.
Benefits of DIY Food Powders
- Control Over Ingredients: No preservatives or additives, perfect for dietary needs.
- Cost-Effective: Save money by using seasonal produce or bulk purchases.
- Reduced Food Waste: Repurpose surplus or leftover foods.
Making your own food powders is an easy and practical way to extend the shelf life of fresh ingredients. With a little effort, you can stock your pantry with nutritious, versatile, and space-saving staples that will enhance your cooking and baking year-round.


